Cabbages are a staple around here in spring. In our climate this vegetable grows over winter and is ready to harvest in mid spring, however you can grow cabbages all year round in warm or hot regions.
So let me step you through how to grow cabbages. The basic process is the same in most climates although planting time may vary. Check local references for planting time in your area/climate.
Preparing The Soil
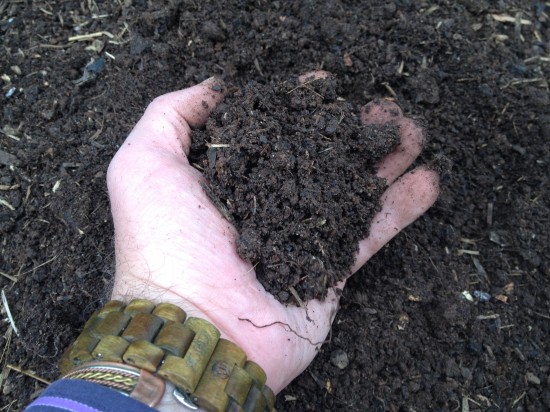
Firstly, the soil. Add lots of well-rotted manure and home-made compost to the soil as cabbages are very heavy feeders. Dig it in well.
I added chicken and cow manure to my soil. It looked amazing, very friable for good root and plant development.
Planting Seedlings
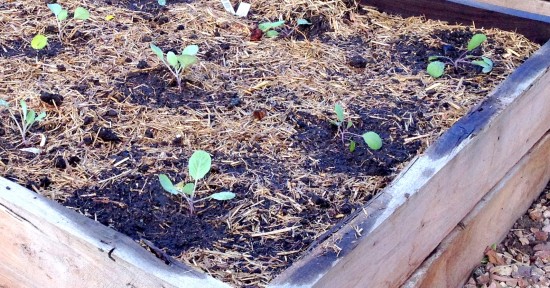
It is best to plant seedlings that you have grown from seed. Once the seedlings grow their first true leaves then they are ready to plant. If you don’t have any luck at growing your own from seed, it is perfectly fine to purchase some from your local nursery. They still work out quite cheap as you usually get eight seedlings in a tray.
Plant each seedling at least 30 cm (1 foot) apart as they do grow large. They don’t like crowding during the latter stages of growth.
Keep the soil moist as the seedlings grow and mulch well.
Pests and Feeding
The biggest issue you will probably have is trying to keep the pests off your cabbages. The pests that like to munch on your cabbages are white cabbage moth caterpillars in the early stage and snails and slugs as the head begins to swell. If you have some fine netting like old net curtains, then drape these over the garden bed to exclude the cabbage moths from landing on your seedlings.
I use a simple to make chilli, onion, and garlic spray to keep these pests at bay. If that doesn’t work, then pick them off by hand.
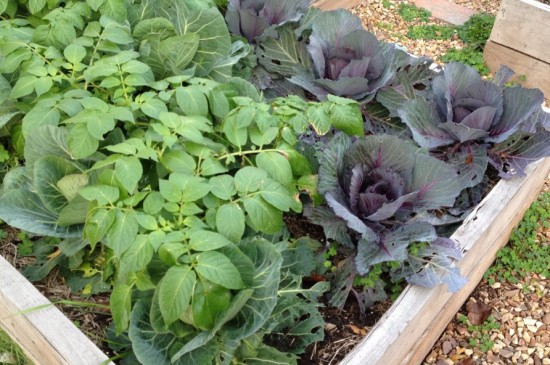
Another way is to disguise your cabbages, by interplanting them with another vegetable. In the past I have chosen potatoes that grow and then die off leaving the large head nearly ready to harvest. I have found that companion planting works well, and keeps the moths at bay.
As the heads begin to form, make sure you regularly water with a bit of liquid fertiliser. This gives the cabbages a big boost when it needs it the most.
Harvesting Your Cabbages
You can tell that they are ready to harvest when you squeeze the head and it feels firm and hard. It should be at least 20 cm (7.8 inches) across to get a good feed out of them. If you want them a bit larger just remember to keep watering and fertilising each week, keeping the soil moist.
If the soil dries out, the cabbage will start to bolt to seed as a survival mechanism. This will also happen if you leave them in the ground too long. A good tip is to check the shape of your cabbage because if it starts to change from round to oval shape, it is beginning to bolt. Pick it quick.
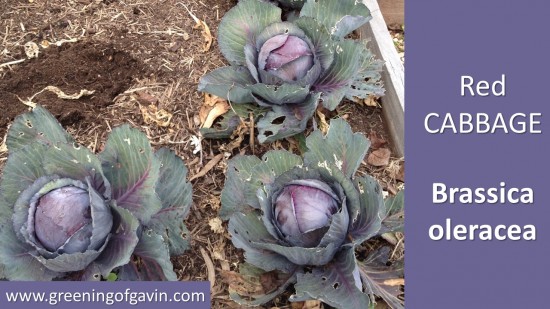
So here are some fine-looking specimens of red cabbage that I have grown this season. The red cabbages take about two to three weeks longer to form heads in our climate than do the white or savoy cabbages. Not sure why, but this always seems to be the way it is each season.
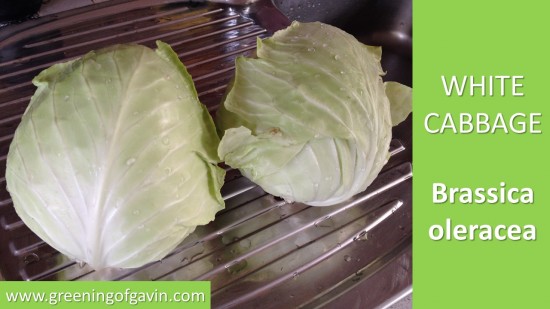
Harvest all types of cabbages by pulling the plant out roots and all, then strip off the outer leaves until you have a firm, unblemished cabbage head like the white cabbages below. Don’t waste the discarded leaves. If you have chickens then they will turn them into eggs quick smart, or throw them on the worm farm or in the compost bin.
Well Worth The Wait
These white cabbages are delicious in any dish you decide to cook them in. One of my favourite recipes is Cabbage and Bacon. It makes a great meal for the family if spooned over a pile of mashed potato.
So there you have it. How to grow cabbages in your very own garden. Definitely worth the effort and the only issue I have is keeping those moths at bay!
Do you grow your own cabbages? Do you have any tips that I may have missed? If so, add a comment below; sharing is caring!

