My lovely wife Kim, who is the artist in the family, thought that the clay cob oven would look great finished off with a coat of render and mosaic tiles.
I agreed as I wanted the oven not only to be functional, but to be a work of art as well. Kind of a focal point for that side of the urban farm.
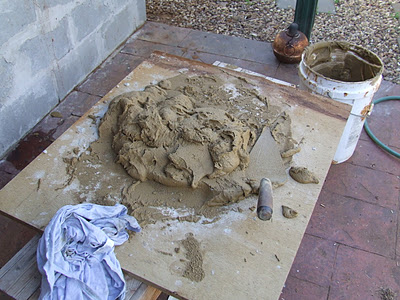
So today we got to it. The render came in a 20kg bag, to which I added an iron oxide colour. I mixed it all up with a mixing attachment connected to the hammer drill to stir it all up dry. Then I added the water to make a smooth render that I could trowel on to the oven. This is what is looked like. The colour is Desert Sand, and it is a lot lighter now that it is drying. Click on any picture to enlarge.
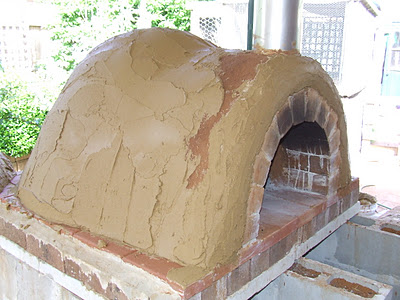
After a light mist with water, I applied the render with a plastering float the best I could, trying to get an even thickness all over.
Left hand side nearly finished,
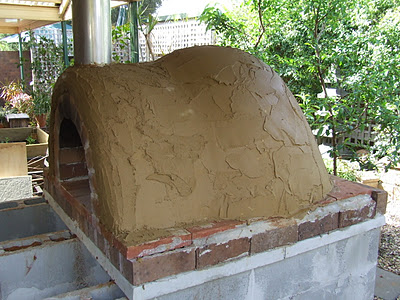
Then right hand side. It looked very rough, so I found a big sponge that I used to wash my car with, wet it down and we smoothed the render all over. It worked a treat.
We really had to work fast, as it was drying out quicker than anticipated. However I think we did pretty well to get most of the tiles on.
The bottom row represents the ground, out of which are growing flowers.
We put a green edging of cracked glass tiles around the front.
The blue tiles on top represent the sky. We didn’t complete it as the render just got too hard. So we have decided to stick the rest on with tile adhesive and then do a similar coloured grout all over to make it all smooth and blend in better.
So during the week, I need to get another bag of render to do the base and slap that on, then fix the mantle at the front with a bit of cement, then we can finish it all off next Sunday. Standby for more photos next weekend!


Gav – you know darn well that i have printed all of these clay cob oven posts AND put them in plastic sheets, in order to copy them the day that we are ready to build our own! the tiling looks beautiful and i can’t wait to see the finished product!
kudos to you and kim and thank you so much for all that you share here – you are a real inspiration!
Looks great! You guys would make great cake decorators! I can’t wait to see delicious things coming out of it…
it looks amazing. Great job!
Oh it is beautiful – I have clay cob oven envy!
Your Kim is something. Can’t wait to see the next installment. Your oven just keeps getting cooler (or hotter) as it goes.
brenda from arkansas
WOW!! That is the best looking oven I’ve ever seen. You can come and build and decorate one for me if you like 🙂
That is beautiful. I love it, nice work. I have for many years wanted to put some mosaic in my garden. For me it give a feeling of being natural with its roughness, yet human with its design.
Hi Gavin love your site. We would love to build a cob oven and put mosaics on. Just wondering after all these years how your mosaics are fairing? Do they pop off when the oven is contracting from hot to cold? Also, how well does the glue perform under temperature. Looks wonderful. Green with envy
Hi Louisa,
Thanks for browsing through the site. Glad you are enjoying it. The mosaics are faring well. One or two of the tiles have fallen off the front face of the oven, but all the rest are still stuck on fast. We think that the layer of grout helped to keep them in place.
Gav
Thanks Gavin. Do you think I can get away with no grout?
You can only try. You will just have to press them into the cob harder.